Getting Started with Williamsburg Photo Editor
Williamsburg Photo Editor is a powerful web-based tool that allows you to enhance and edit your photos with ease. In this beginner's guide, we'll walk you through the basics of the user interface and introduce you to the essential editing tools.
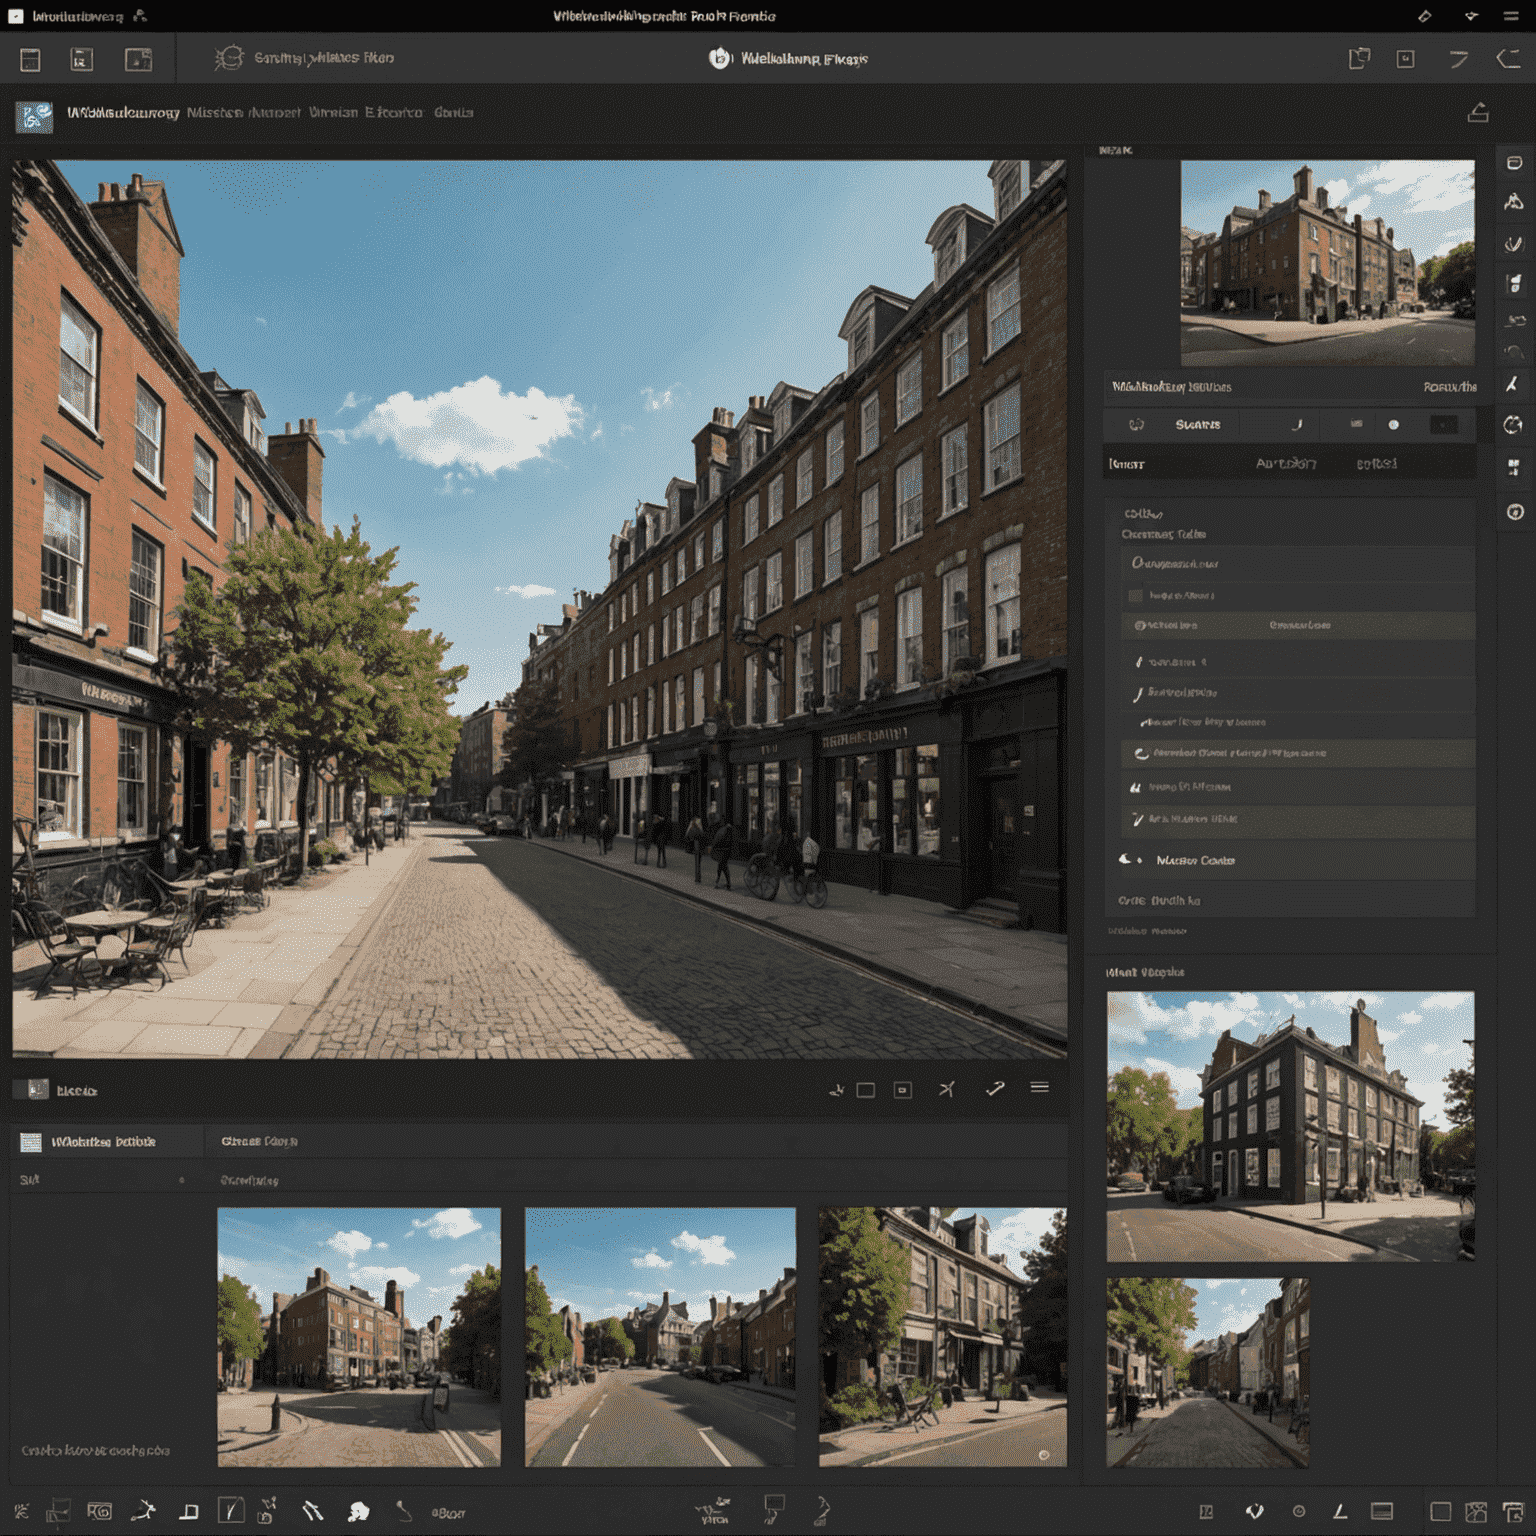
The User Interface
Upon launching Williamsburg Photo Editor, you'll be greeted with a clean and intuitive user interface. The main workspace is where your photo will be displayed, and the editing tools are conveniently located in panels on the sides.
Essential Editing Tools
Crop and Rotate
The crop tool allows you to remove unwanted parts of your photo and change its aspect ratio. Simply select the crop tool, adjust the crop box, and hit apply. You can also rotate your photo using the rotate buttons.
Adjustments
The adjustments panel offers a range of tools to fine-tune your photo's appearance. You can adjust brightness, contrast, saturation, and more. Experiment with the sliders to achieve the desired look.
Filters
Williamsburg Photo Editor comes with a collection of preset filters that you can apply to your photo with a single click. Browse through the filter options and choose one that enhances your photo's mood or style.

Background Remover
One of the standout features of Williamsburg Photo Editor is its background remover tool. With just a few clicks, you can remove the background from your photo, leaving only the subject. This is perfect for creating product images or distinctive compositions.
Saving and Sharing
Once you're satisfied with your edited photo, you can save it to your device or share it directly to social media platforms. Williamsburg Photo Editor supports various file formats and provides options for adjusting the output quality.
With these basics in mind, you're ready to start exploring the full potential of Williamsburg Photo Editor. Don't be afraid to experiment and try out different combinations of tools and settings. Happy editing!